Procreate vs LineStencil for tattoo stencils
Updated November 15, 2026. Procreate details are from procreate.com and the App Store as of this date. LineStencil is not affiliated with Procreate.
Most tattoo artists already draw in Procreate, and you can make a good stencil there without any other app. So the real question isn't which one is better, but when an extra tool saves you time. Below is how to make a stencil in Procreate, how it compares with LineStencil, and how to use both together.
At a glance
| Procreate | LineStencil | |
|---|---|---|
| Price | $12.99 one-time (iPad); nothing extra if you already own it | 1 stencil a day free, no account; $5 for 20 stencils; Pro $12/month |
| Devices | iPad (Procreate Pocket for iPhone is a separate app) | Any browser: iPad, phone, Android tablet, Windows, Mac |
| How the lines are made | You trace them, or use a filter trick on a photo | AI traces your design or photo in about 15 seconds |
| Time for a detailed piece | Often 20 minutes to an hour by hand; a few minutes with the filter trick | About 15 seconds, plus checking and touch-ups |
| Control over every line | Complete | Lighter/darker slider, outline or shading, erase and draw touch-ups |
| Shading marks | You draw them | “Lines + shading” adds hatch marks for shadow areas |
| Checking against the original | Your reference layer is right underneath | “Compare with original” overlay with an opacity slider |
| Exact-size printing | Set the canvas in cm or inches, export, print at 100% | Type the width; margins trimmed; 5 cm calibration ruler |
| Designs bigger than one sheet | Not built in; split the canvas yourself | Split across Letter, A4 or Legal pages with overlap and alignment marks |
| AI | None. Procreate has publicly pledged not to add generative AI | Uses an AI image model to trace; always check the result |
How to make a tattoo stencil in Procreate
Option 1: Trace it by hand (best for your own designs)
- Create a canvas at the size you'll tattoo: for example 10 cm wide at 300 DPI, so it prints sharp and at the right size.
- Import your reference or sketch and lower its opacity.
- Add a new layer on top and trace with a clean, even brush (a monoline or technical pen). Mark shadow edges with a few lines rather than shading them in.
- Hide the reference layer, export as PNG or PDF, and print at 100% / “Actual size”.
Option 2: The filter trick (fast, works best on photos)
This is a method tattoo artists share for turning a photo into rough line work:
- Import the photo as a layer.
- Adjustments → Hue, Saturation, Brightness: saturation all the way down, brightness slightly up.
- Duplicate the layer and set the top copy's blend mode to Divide.
- Apply Adjustments → Gaussian Blur to the top copy, somewhere between 2% and 8%. Edges turn into lines; flat areas go white.
- Clean up stray marks on a new layer, then export and print at 100%.
It's free and fast, but busy backgrounds and soft photos turn into noise, and you still decide by hand which lines belong in the stencil.
Where LineStencil saves time
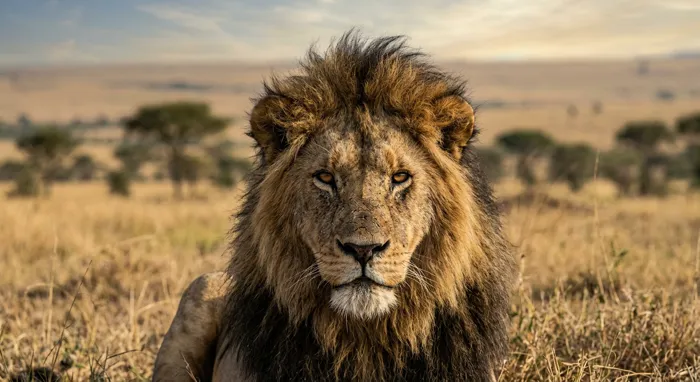
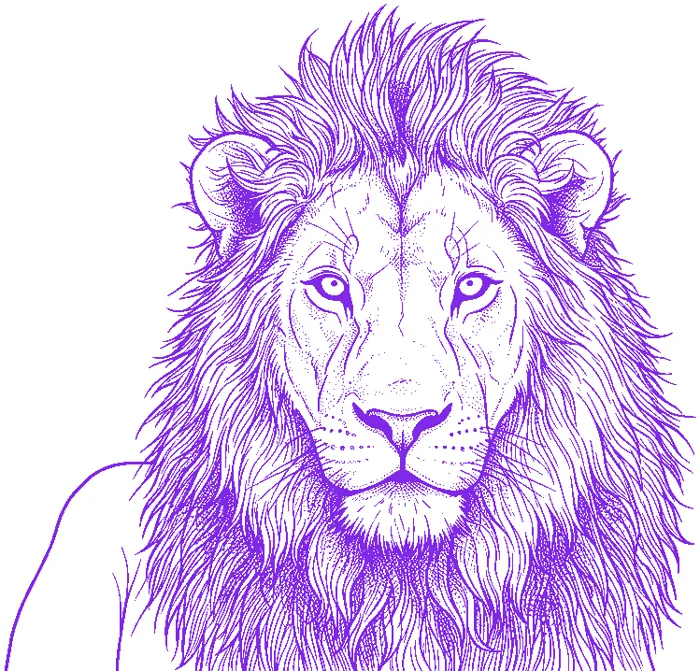
- Portraits, animals and realism. The detailed pieces that take longest to trace are where 15 seconds versus an hour matters most.
- Shading guides. “Lines + shading” marks the shadow areas for you; with Procreate you draw them.
- Large pieces. Sleeves and back pieces print across several sheets with overlap and ⊕ alignment marks, instead of slicing the canvas yourself.
- Not on an iPad. It runs in any browser, including on the computer that's connected to your printer.
Use both together
Many artists don't have to choose. Make the line work in LineStencil, download it as a transparent PNG, drop it into Procreate on top of your design, and fix or redraw any lines there. You keep full control over the final stencil and skip the slowest part of tracing.
Choose Procreate alone if
- You draw your own designs and the line drawing is already your stencil.
- You want full control over every line from the start.
- You'd rather not use AI at all.
Add LineStencil if
- You trace a lot of photos (portraits, pets, realism) and tracing takes more time than tattooing.
- You print large pieces across several sheets.
- You work on a computer or an Android tablet as well as, or instead of, an iPad.
What LineStencil doesn't do
- It's not a drawing app: touch-ups are erase and draw only, with no layers or brushes.
- AI usually traces clean designs faithfully but can change small details, especially in photos of healed tattoos on skin. Check every stencil against the original before you use it.
Try it on a design you've already traced in Procreate and compare: the daily stencil is free, no account needed. Open the stencil maker →