How to make a tattoo stencil from a photo
Updated November 14, 2026
Tracing a reference by hand takes anywhere from 20 minutes to an hour. With an AI stencil maker the tracing takes about 15 seconds, and your time goes into checking and adjusting the lines instead. This guide walks through the whole process, from choosing the photo to the printed stencil.
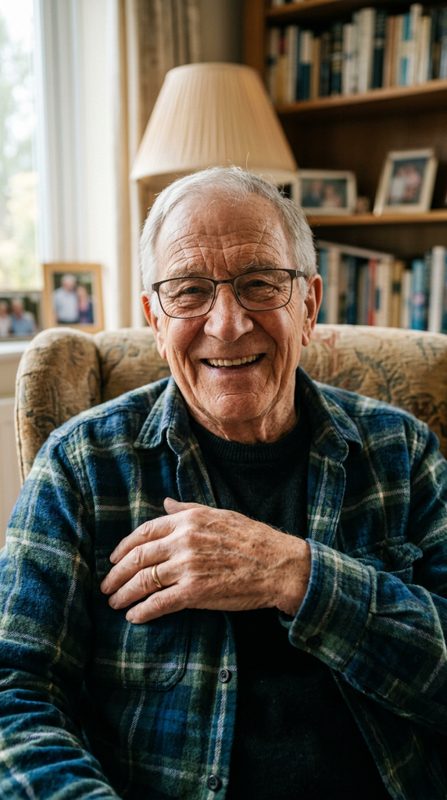
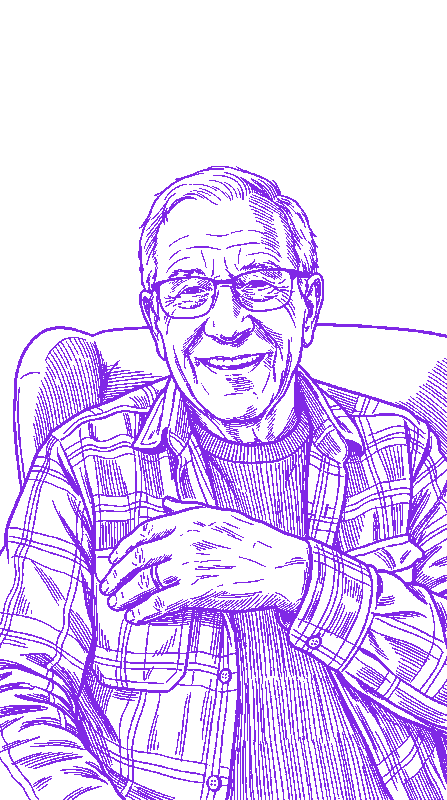
1. Pick a photo that traces well
- Sharp and well lit. Blurry or very dark photos lose detail; the AI can't trace what it can't see.
- One clear subject. The background is removed automatically, but a busy background next to the subject can get pulled into the lines. Crop close if you can.
- Straight on. Shoot drawings and printed designs flat, not at an angle.
- Avoid photos of healed tattoos on skin. On curved, angled skin the AI may straighten or change small parts such as letters and symbols. For touch-ups or exact copies, trace by hand.
- Use images you have the right to use: your own designs, your client's photo with their permission, or work you've licensed.
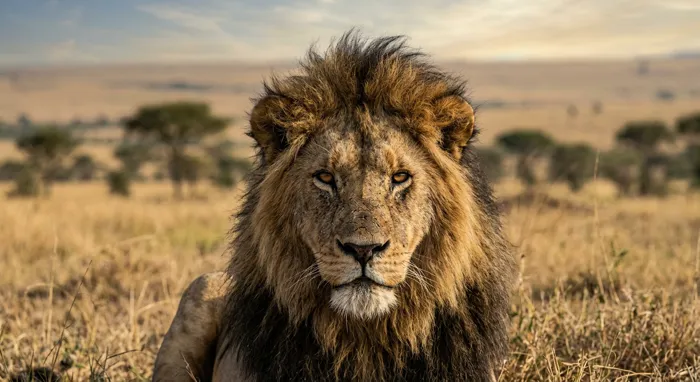
2. Choose a style
| Style | What you get | Best for |
|---|---|---|
| Lines + shading | Outlines plus hatch lines that mark the shadow areas | Portraits, animals, realism, anything you'll shade |
| Outline only | Clean contour lines, no shading marks | Lettering, traditional and fine-line work, simple designs |
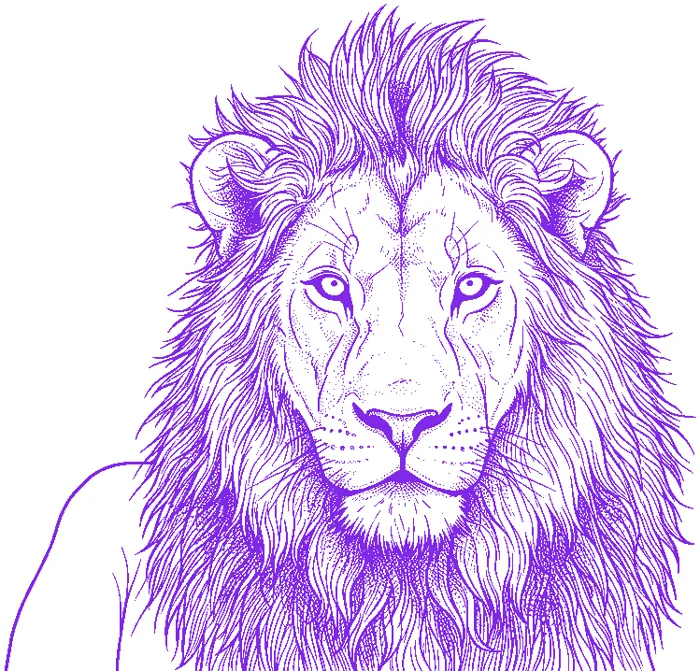
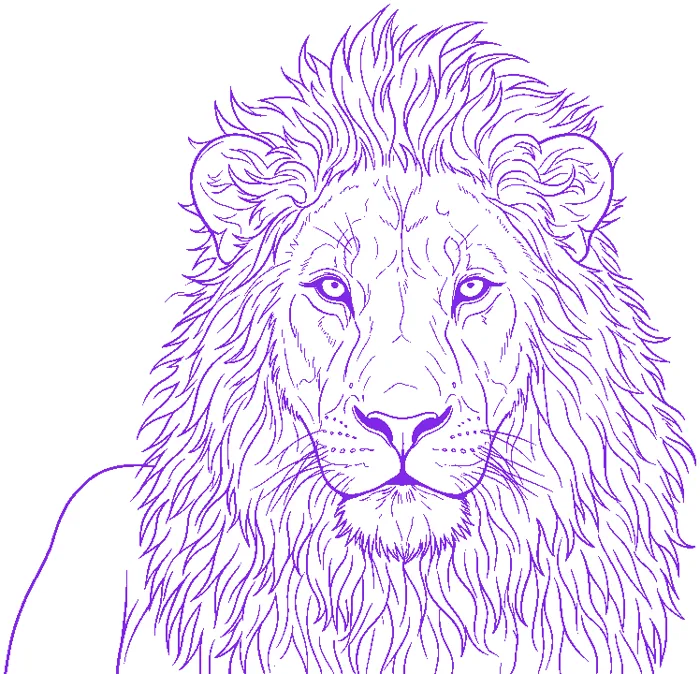
Same photo, both styles. Shading marks where the shadows go; outline keeps only the contours.
3. Make the stencil
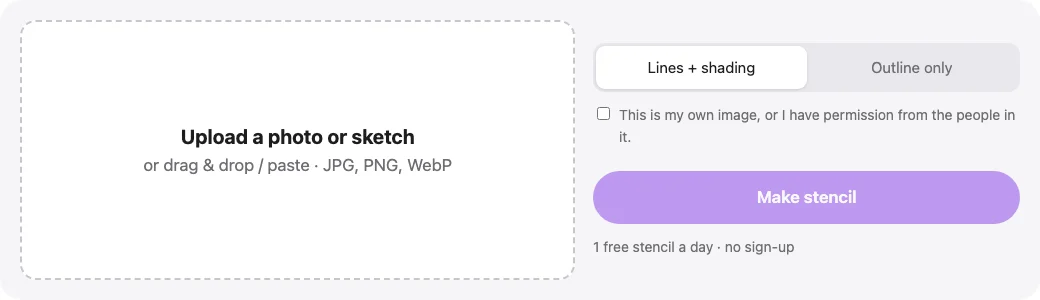
- Open the stencil maker and upload, drag in or paste your image (JPG, PNG or WebP).
- Pick the style, confirm you have the right to use the image, and click Make stencil.
- Wait about 15 seconds. You get one free stencil a day without signing up.
4. Adjust it before printing
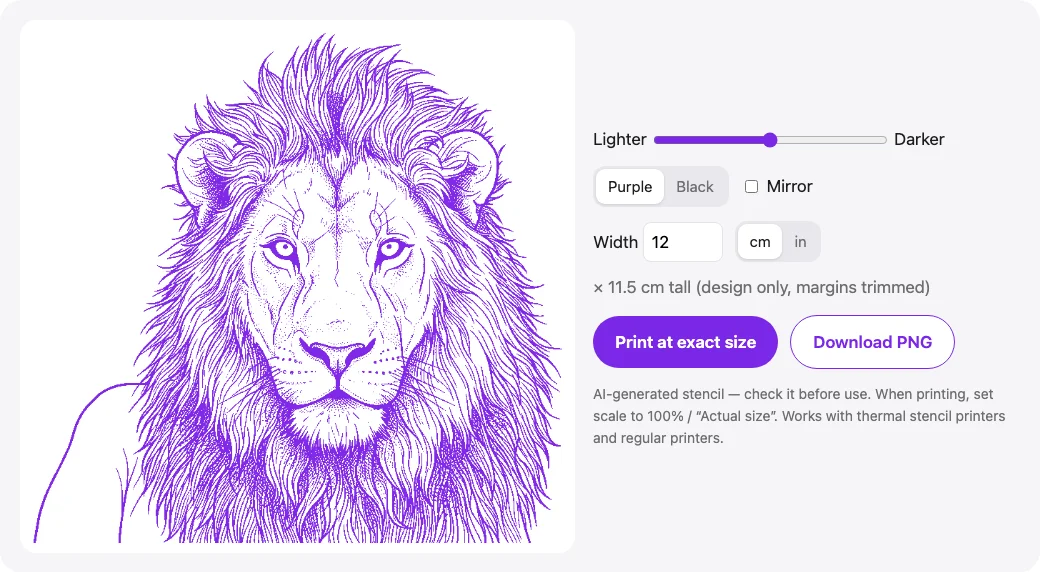
- Lighter / darker: too many lines smudge on skin, too few lose detail. The slider changes the stencil instantly and doesn't use another stencil.
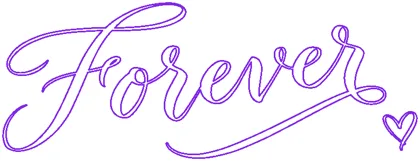
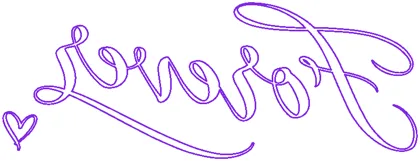
- Purple or black: purple looks like a transfer on screen; black prints most reliably on thermal printers.
- Mirror: flip the design if your transfer method needs a reversed image.
- Check every detail. AI usually traces faithfully but can miss or invent small details. Compare it with the original, especially faces, hands and text.
Lighter vs darker
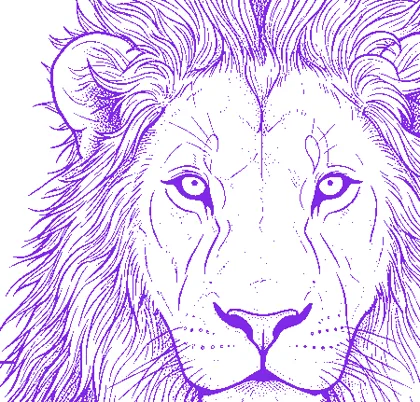
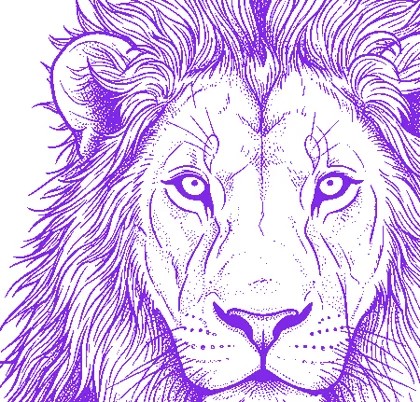
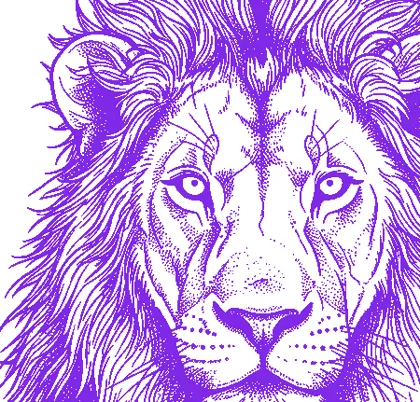
One stencil, three slider positions. Darker keeps more texture in the mane but can smudge on skin; lighter is cleaner to apply.
Purple or black, normal or mirrored
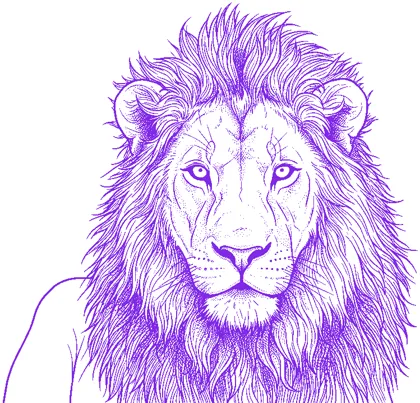
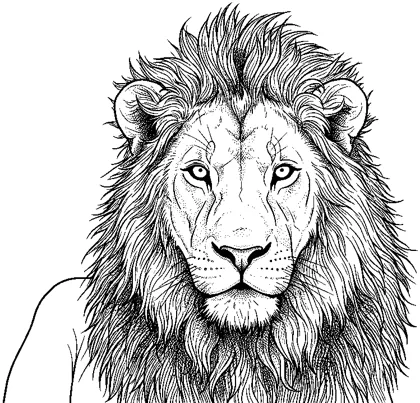
5. Print at the size you measured
Type the width in cm or inches and click Print at exact size. The blank margins are trimmed, so the design itself prints at that width. In the print dialog set scale to 100% / "Actual size". Full details, including thermal printers, are in how to print a stencil at exact size.
Common problems
- Too much detail in the face: slide toward lighter, or use Outline only and add shading freehand.
- Background got traced: crop the photo closer to the subject and try again.
- Lines changed something important: make a new stencil from a sharper photo, or fix that area by hand on the transfer.